Corrections Special School District
Career & Technical Education Center
Website Development I
Class No. 2:


HTML Structure and More Basic Markup
Today’s Goal
To continue to explore HTML tags and attributes.
Class Resources
Web Programming book reading for THIS class
- Chapter 2: Coding Standards, Block Elements, and Text Elements, pages 34-46
- Introduction
- HTML Coding Conventions
- Comments
- HTML Elements Should Describe Web Page Content Accurately
- Content Model Categories
- Block Elements
blockquoteElement- Whitespace Collapsing
preElement
Web Programming book reading for NEXT class
- Chapter 3: Introduction to Cascading Style Sheets, pages 74-86
- Introduction
- CSS Overview
- CSS Rules
- Example with Type Selectors and the Universal Selector
- CSS Syntax and Style
- Class Selectors
- ID Selectors
spananddivElements
For today’s exercise
- HTML5 Code Template (starter file that you will modify)
- PRO Manual (PDF from which you can copy text)
Review of Last Class
Are there any questions from the readings?
What take-aways do you remember from our last class?
Issues from Last Class
(1) Use Microsoft Edge, not Internet Explorer
not


(2) Access your pages using your personal URL
For example, the text in your address bar should read:
http://cssdweb.edu/SKaminski/My_first_page.html
not
file:///D:/cssd.local/D/Dropboxes/Website%20Development%20I/Students_2023-04/SKaminski142567/My_first_page.html
(3) Tags Not Closed
Problem: When you add a tag to your text, all of the text following that tag is formatted.
Solutions:
- Be sure to close each tag that you open.
- Be sure that your opening and closing tags match.
- Be sure that your tags are properly nested.
Examples:
<h2>...</h2><p>...</p><p>...<strong>...</strong>...</p>- wrong:
<p>...<strong><em>...</strong></em>...</p>
(4) File in Wrong Format After Copying Text from the PRO Manual
Problem: You see strange characters on your web page like this:
I have heard the term �In Processing.� What does that mean?
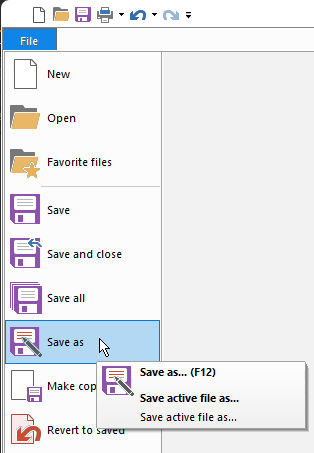
Solution: Your file needs to be converted to UTF-8 format.
- Open your file in UltraEdit. Ignore any errors that may pop up.
- Click File and then Save as.
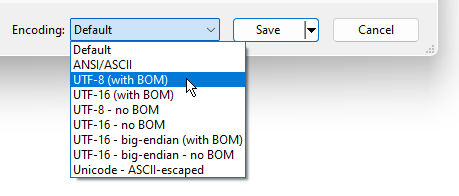
- Drop down the Encoding menu at the bottom of the Save as dialog box and click UTF-8 (with BOM).
- Click the Save button to save your file in the new format.
Just in case you’re curious, UTF-8 stands for “Unicode Transformation Format” 8-bit format, and BOM stands for “Byte Order Mark.”
What other problems did you encounter?
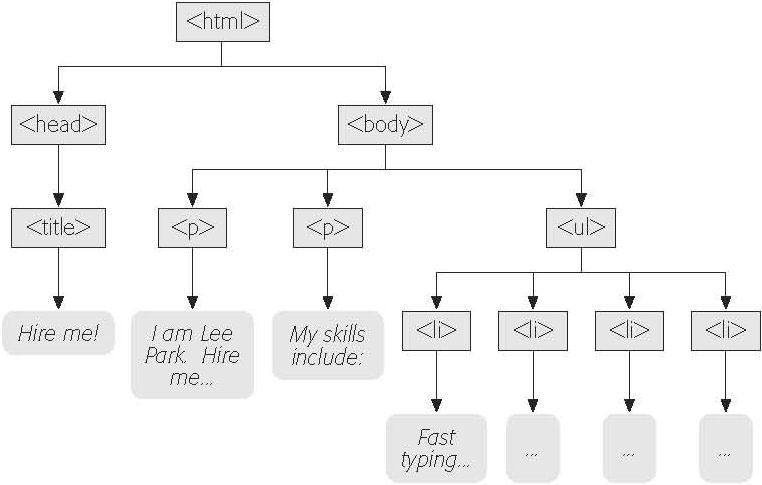
Understanding HTML Hierarchy
Source: MacDonald (2009), Creating a Web Site, Figure 2-11, p. 42
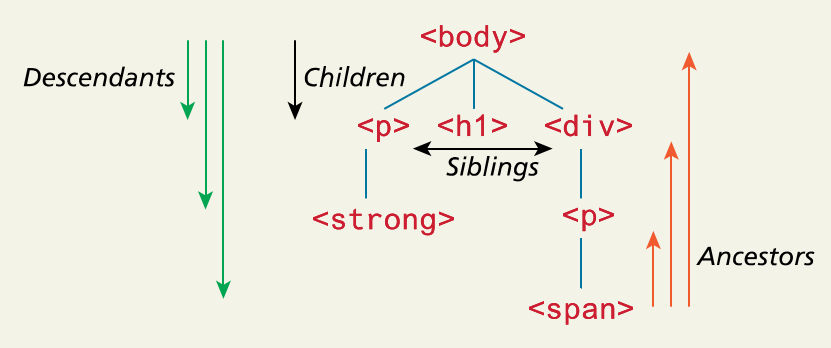
Important Terms
- hierarchy
- root
- parent
- child
- ancestor
- descendant
- sibling
Source: Connolly & Hoar, Fundamentals of Web Development
- 2nd ed., Figure 3.4, page 77, and slides for Chapter 3, slide #14
- 3rd ed., Figure 3.5, page 81
Today’s Exercise
Goal: To complete creating a web page for pages 4 and 5 of the PRO Manual.
Note: This is the same exercise that we did in our last class, so just continue from where you left off. If you completed the exercise, review your work with one of the instructors to discuss ways that it might be improved or enhanced. In addition, take a look at Section 2.19 of our textbook, “character references,” and experiment with the special characters described there.
Here are tags that you might experiment with if you haven’t already
“Container” Tags
<h1>...</h1> =a level 1 heading<h2>...</h2> =a level 2 heading<h3>...</h3> =a level 3 heading<h4>...</h4> =a level 4 heading<h5>...</h5> =a level 5 heading<h6>...</h6> =a level 6 heading<p>...</p> =a paragraph<div>...</div> =a section division<blockquote>...</blockquote> =an indented paragraph<center>...</center> =centered text<em>...</em> =emphasized (italicized) text<strong>...</strong> =boldface text<mark>...</mark> =highlighted text<sup>...</sup> =superscripted text<sub>...</sub> =subscripted text<code>...</code> =monotypetext<pre>...</pre> =preformatted section ofmonotypetext
“Void” Tags (page 8)
<br> =a line break<hr> =a horizontal line- Remember that the
<br>and<hr>tags are exceptions to the rule that all opening tags must be closed. There is no</br>or</hr>tag, so it’s OK to use<br>and<hr>on their own.
“Comment” Tag
<!--...--> =a comment or documentation that is not displayed in the browser- Note: You can put whatever text you want inside the comment delimiters. This is commonly notes to yourself for later reference or section identifiers to help you find specific parts of your code.
More tags are listed on the HTML5 Cheat Sheets that have been handed out and in our textbook’s reading for today.
- HTML5 CheatSheet #1 (PDF) – extensive
- HTML5 CheatSheet #2 (PDF) – simplified
- Chapter 2: Coding Standards, Block Elements, and Text Elements, pages 34-46
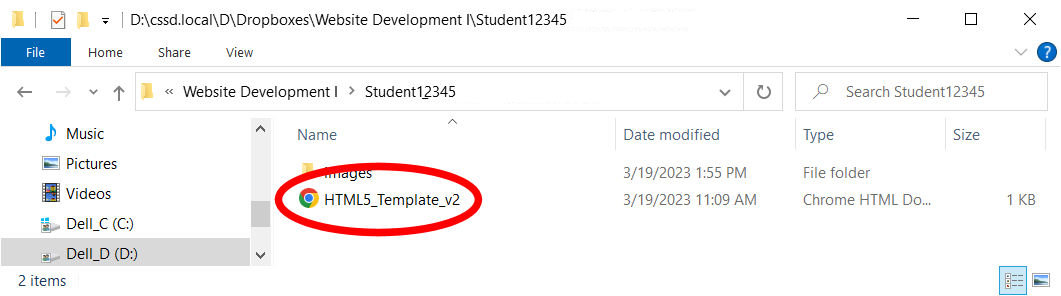
Step 1: Set your File Explorer to display file extensions, not just file names
- Open File Explorer. When you first open File Explorer you will be on the Home tab. Notice that you see file names, but your don’t see file extensions because those extensions are hidden.
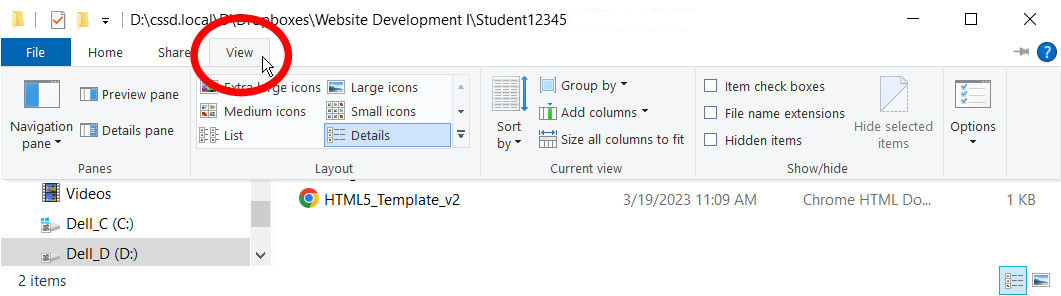
- Click View to display the drop down View options ribbon.
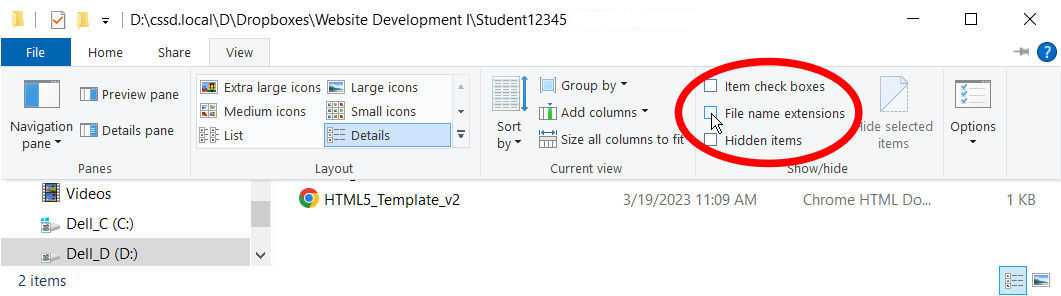
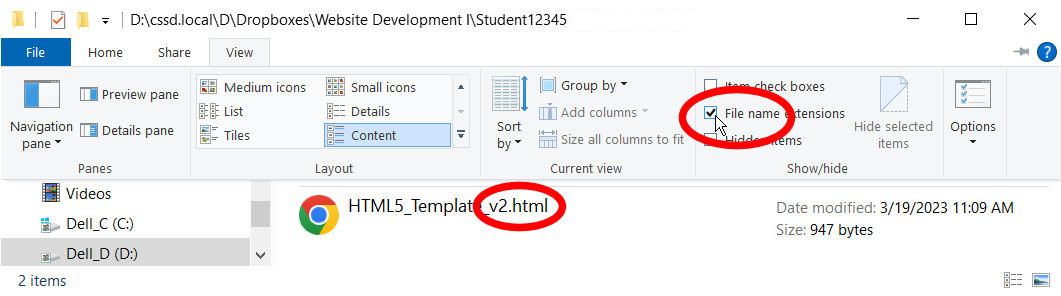
- In the Show/Hide section of the ribbon, click the File name extensions checkbox
- The file extensions — the part after the dot (
.) — should now appear, making it easier to determine each file’s type and to distinguish between files with the same name. - Open the UltraEdit editor on your computer. This should open a blank window that is ready for editing.
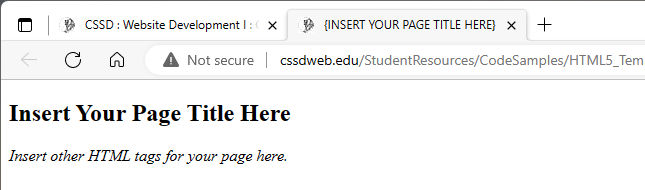
- Leave the editor open and click here to open the HTML5 Template (version 2) in your Microsoft Edge browser.
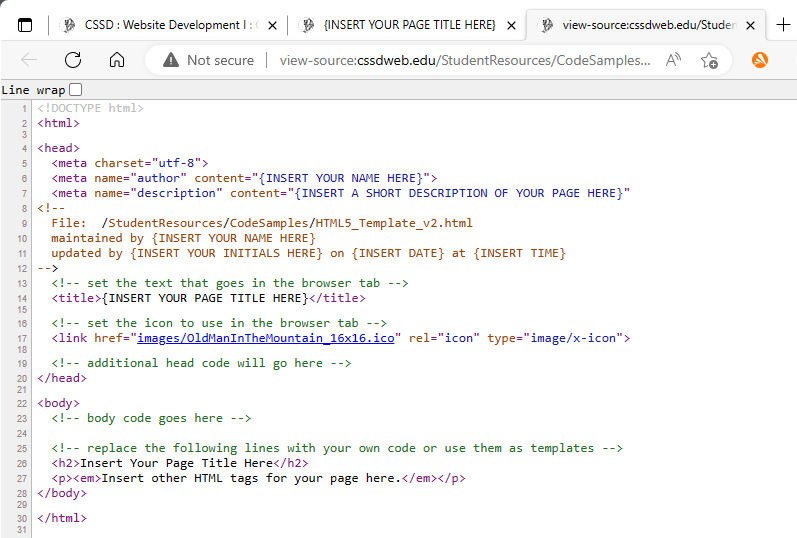
- Type CtrlU to view the source code for the page.
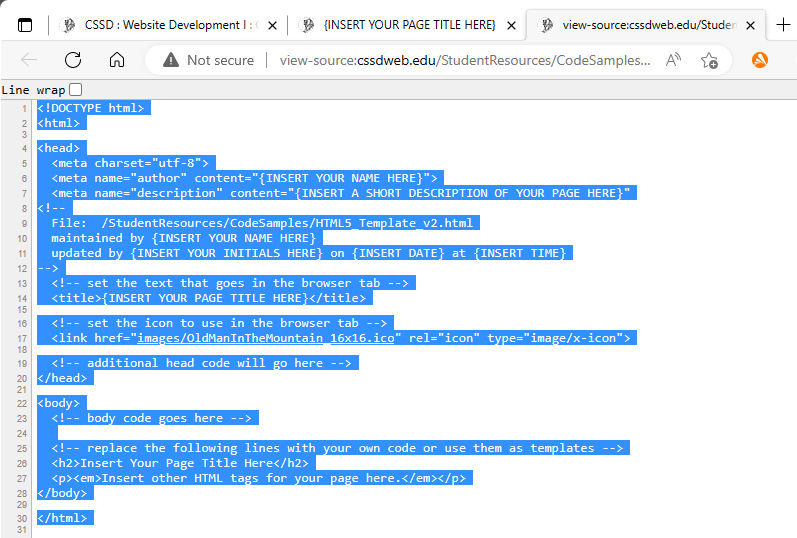
- Click anywhere in the browser window and type CtrlA to select all of the code.
- Type CtrlC to copy the code.
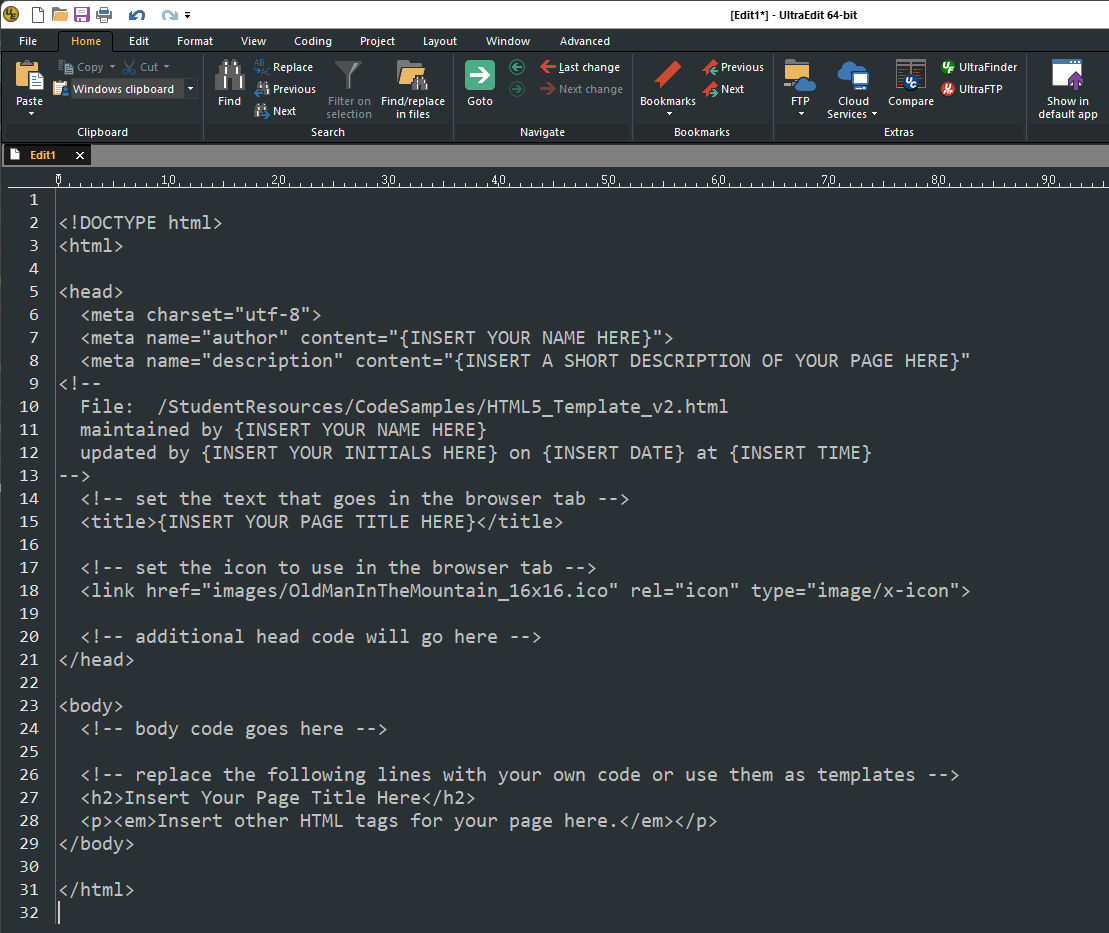
- Return to UltraEdit and type CtrlV to paste the code into the blank editor window.
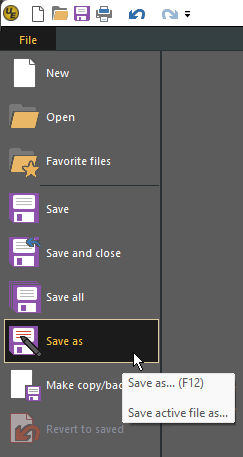
- Click File at the top left of the editor window. A dropdown menu will appear.
- Click Save as. A dialog box will appear.
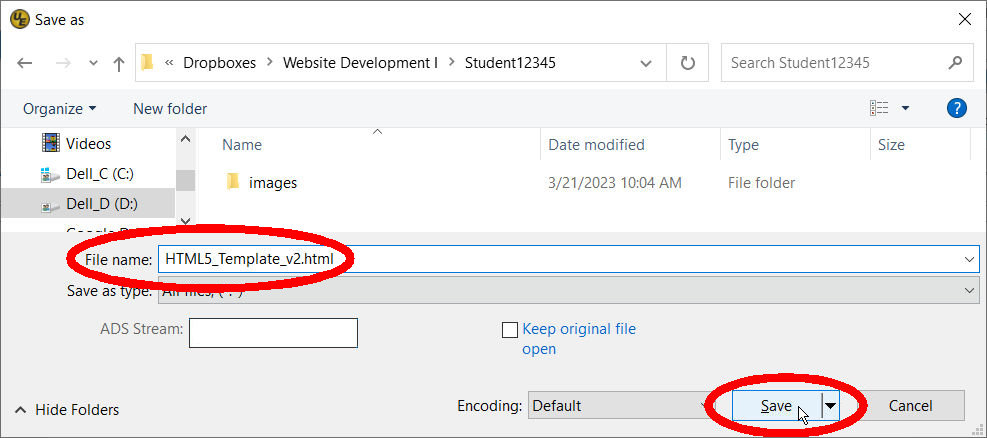
- Once again navigate to your Dropbox (if
necessary). If you do not already have
file
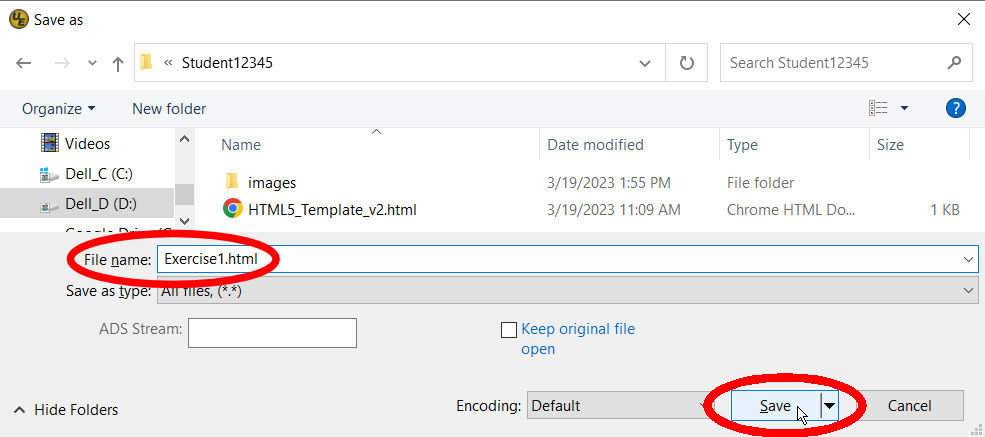
HTML5_Template_v2.htmlin your Dropbox, set the file name toHTML5_Template_v2.htmland click the Save button to save the raw template for future use. Be sure to include.htmlas the file extension! - Click File and then Save As again. This
time, change the file name to something like
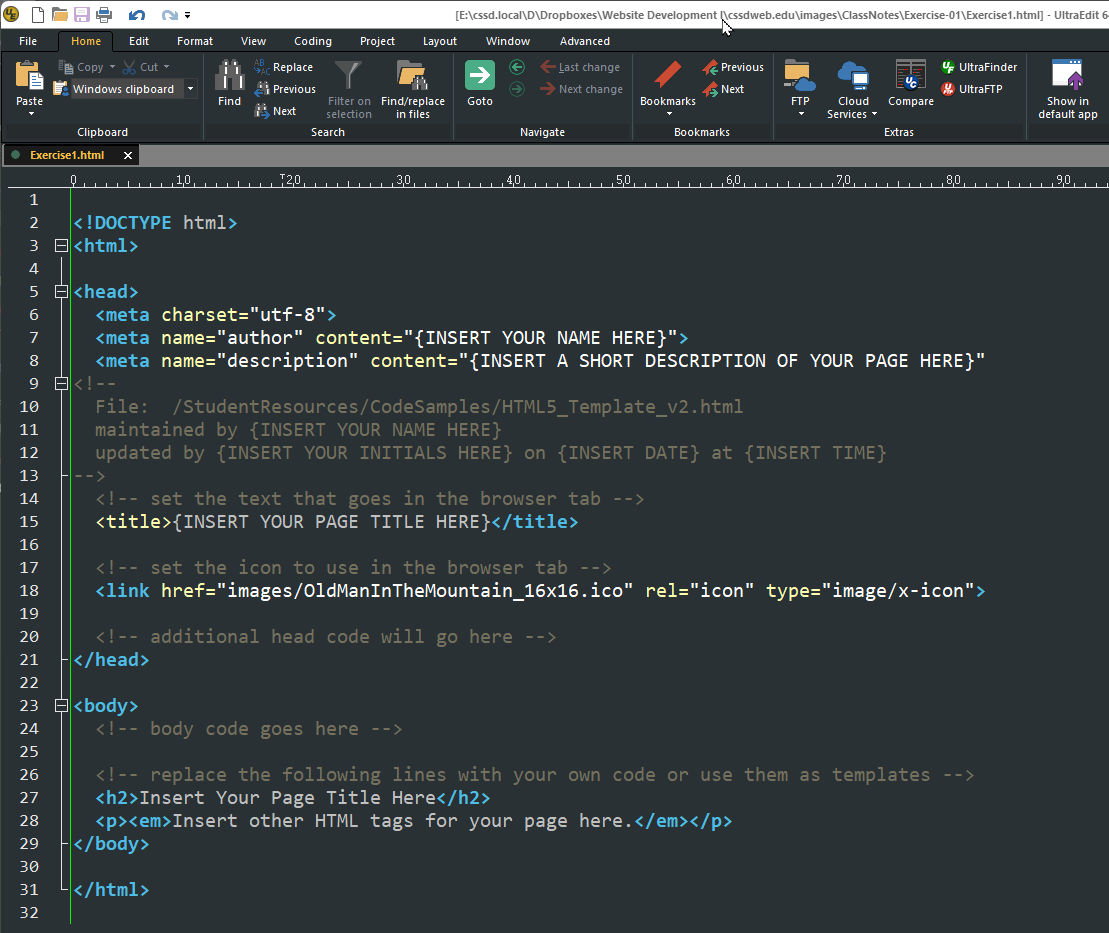
Exercise1.html. As before, be sure to include.htmlas the file extension. - You will know that you have saved the file correctly with a
.htmlextension because UltraEdit will now have added syntax highlighting to your code. If you do not see syntax highlighting, look at the tab label see the name of the file you saved. If it does not end in.html, save the the file again and make sure to type.htmlat the end of the file name. - You are now ready to begin modifying the HTML template and writing your own code to create your own web page.
- Replace all the text within curly brackets in the template file with appropriate text such as your own name, your initials, and the current date and time.
- Delete all the placeholder text between
the
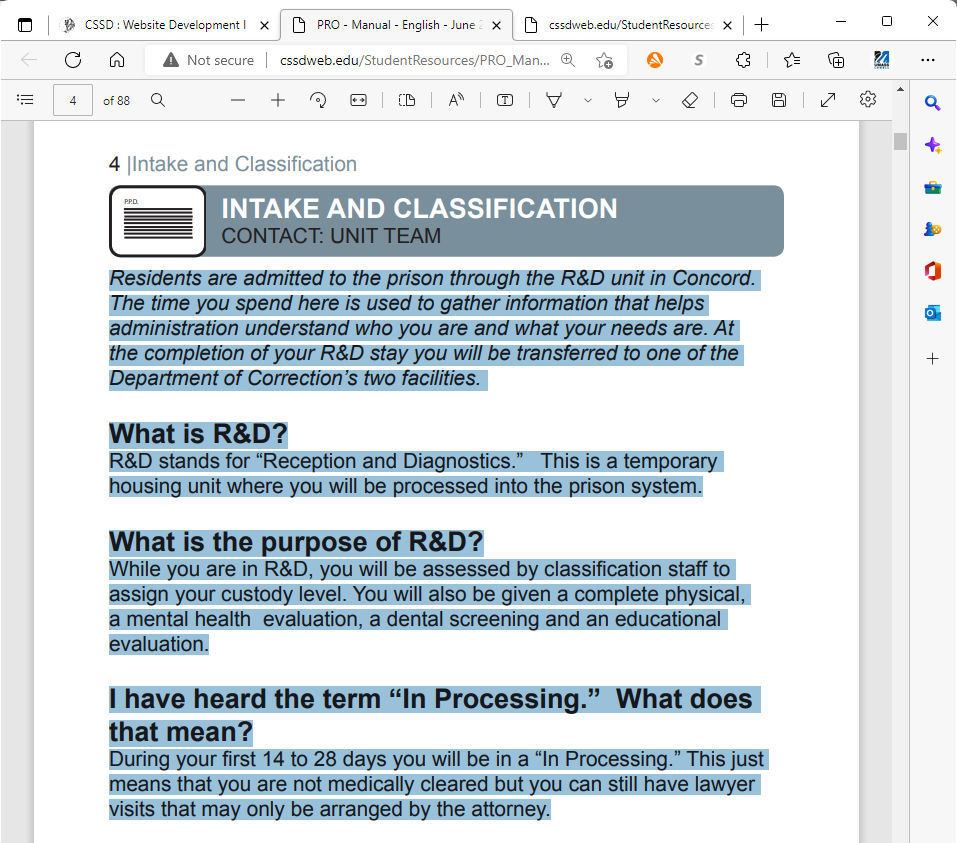
<body>and</body>tags to get ready to add your own code. - Open the PRO Manual and advance to page 4.
- Select the first few paragraphs by positioning your mouse to the left of the start of the text, holding down the left mouse button, and dragging to highlight the text as you see below.
- Type CtrlC to copy the text that you have highlighted.
- Return to UltraEdit and your HTML file. Click to position your mouse between
the
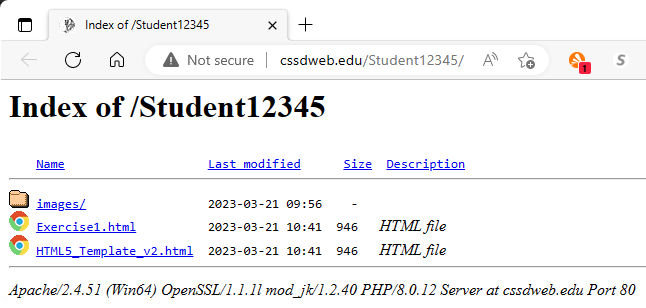
<body>and</body>tags and type CtrlV to paste in the text you copied from the PRO Manual. - Go to the page on our course website and click the link next to your name. You should then see a display similar to:
- Click the link for your HTML file (
Exercise1.htmlin the above example) to open your file in the browser and see the result of your work. You will see that the text you pasted in is completely unformatted and appears as a single paragraph. - Go back to UltraEdit and add
<h2>opening tags before each part of the text that should be a section title, such as:
- What is R&D?
- What is the purpose of R&D?
- I have heard the term “In Processing.” What does that mean?
</h2>closing tags after each section title. For example, the first section title should look like this:
<h2>What is R&D?</h2> - Experiment with adding other opening and closing
tags introduced by the textbook around various parts of the text to
make your page look more like it appears in the PRO Manual. Try:
<h1>...</h1>a large main heading
<h2>...</h2>a smaller main section heading
<h3>...</h3>a still smaller section heading
<p>...</p>- a paragraph
<blockquote>...</blockquote>an indented text division
<div>...</div>- a text division to be styled later
<strong>...<strong>- display the enclosed text in boldface
<em>...</em>- display the enclosed text in italics
<hr>- a horizontal line
- note that this is an exception to the opening/closing
tag rule because there is no closing
</hr>tag
- note that this is an exception to the opening/closing
tag rule because there is no closing
<br>- a
line
break- this is also an exception to the opening/closing tag
rule because there is no closing
</br>tag
- this is also an exception to the opening/closing tag
rule because there is no closing
- As you work, make note of the issues you run into and any questions you may have so that we can all discuss them at the beginning of our next class.
- Consider what’s different about your web page from what appears in the PRO Manual. These are the things that we will address in future classes.
Step 2: Load the HTML5 Template file into your editor
Step 3: Save your copy of the HTML5 template
Step 4: Update the documentation in your HTML file and delete the placeholder code
Step 5: Copy text from the PRO Manual into your HTML file
Step 6: Display your HTML file in Microsoft Edge
Step 7: Experiment with various HTML5 tags to format your HTML file
This is Class No. 2. It was last modified on
Saturday, October 21, 2023 at 4:38 PM. Copyright © 2010-2026 by Jesse M. Heines. All rights reserved, but may be freely copied or excerpted for
educational purposes with credit to the author.